
Flour Tortillas
I found the recipe here.
Basically,
3 cups flour
1 tsp. salt
1/3 cup vegetable oil
1 cup warm water
Mix them all together, then pinch into small balls. Roll the balls out as circular as possible, then through them in a frying pan sprayed with pam. Cook until it starts to brown, then flip it over and brown the other side. And done!
I have halved the recipe to make only 3 tortillas, which was perfect for one meal of chicken quesadillas with the hubs. Awesome!
Rating: 4.9 stars (not QUITE as good as store bought, but considering I made them myself, I'm pretty proud of myself.
Now the bread.
As I have mentioned before, I am not good at making bread. Well, I decided last night that that was no longer true. So I changed it to, I am not good at making rolls. And I'm too afraid to try again. But I am kicking butt when it comes to bread. I found a recipe that makes sandwich bread, which is perfect for our grilled cheese sandwiches. So I made them yesterday. Not too labor intensive and not too long, so it was great for a Sunday afternoon.
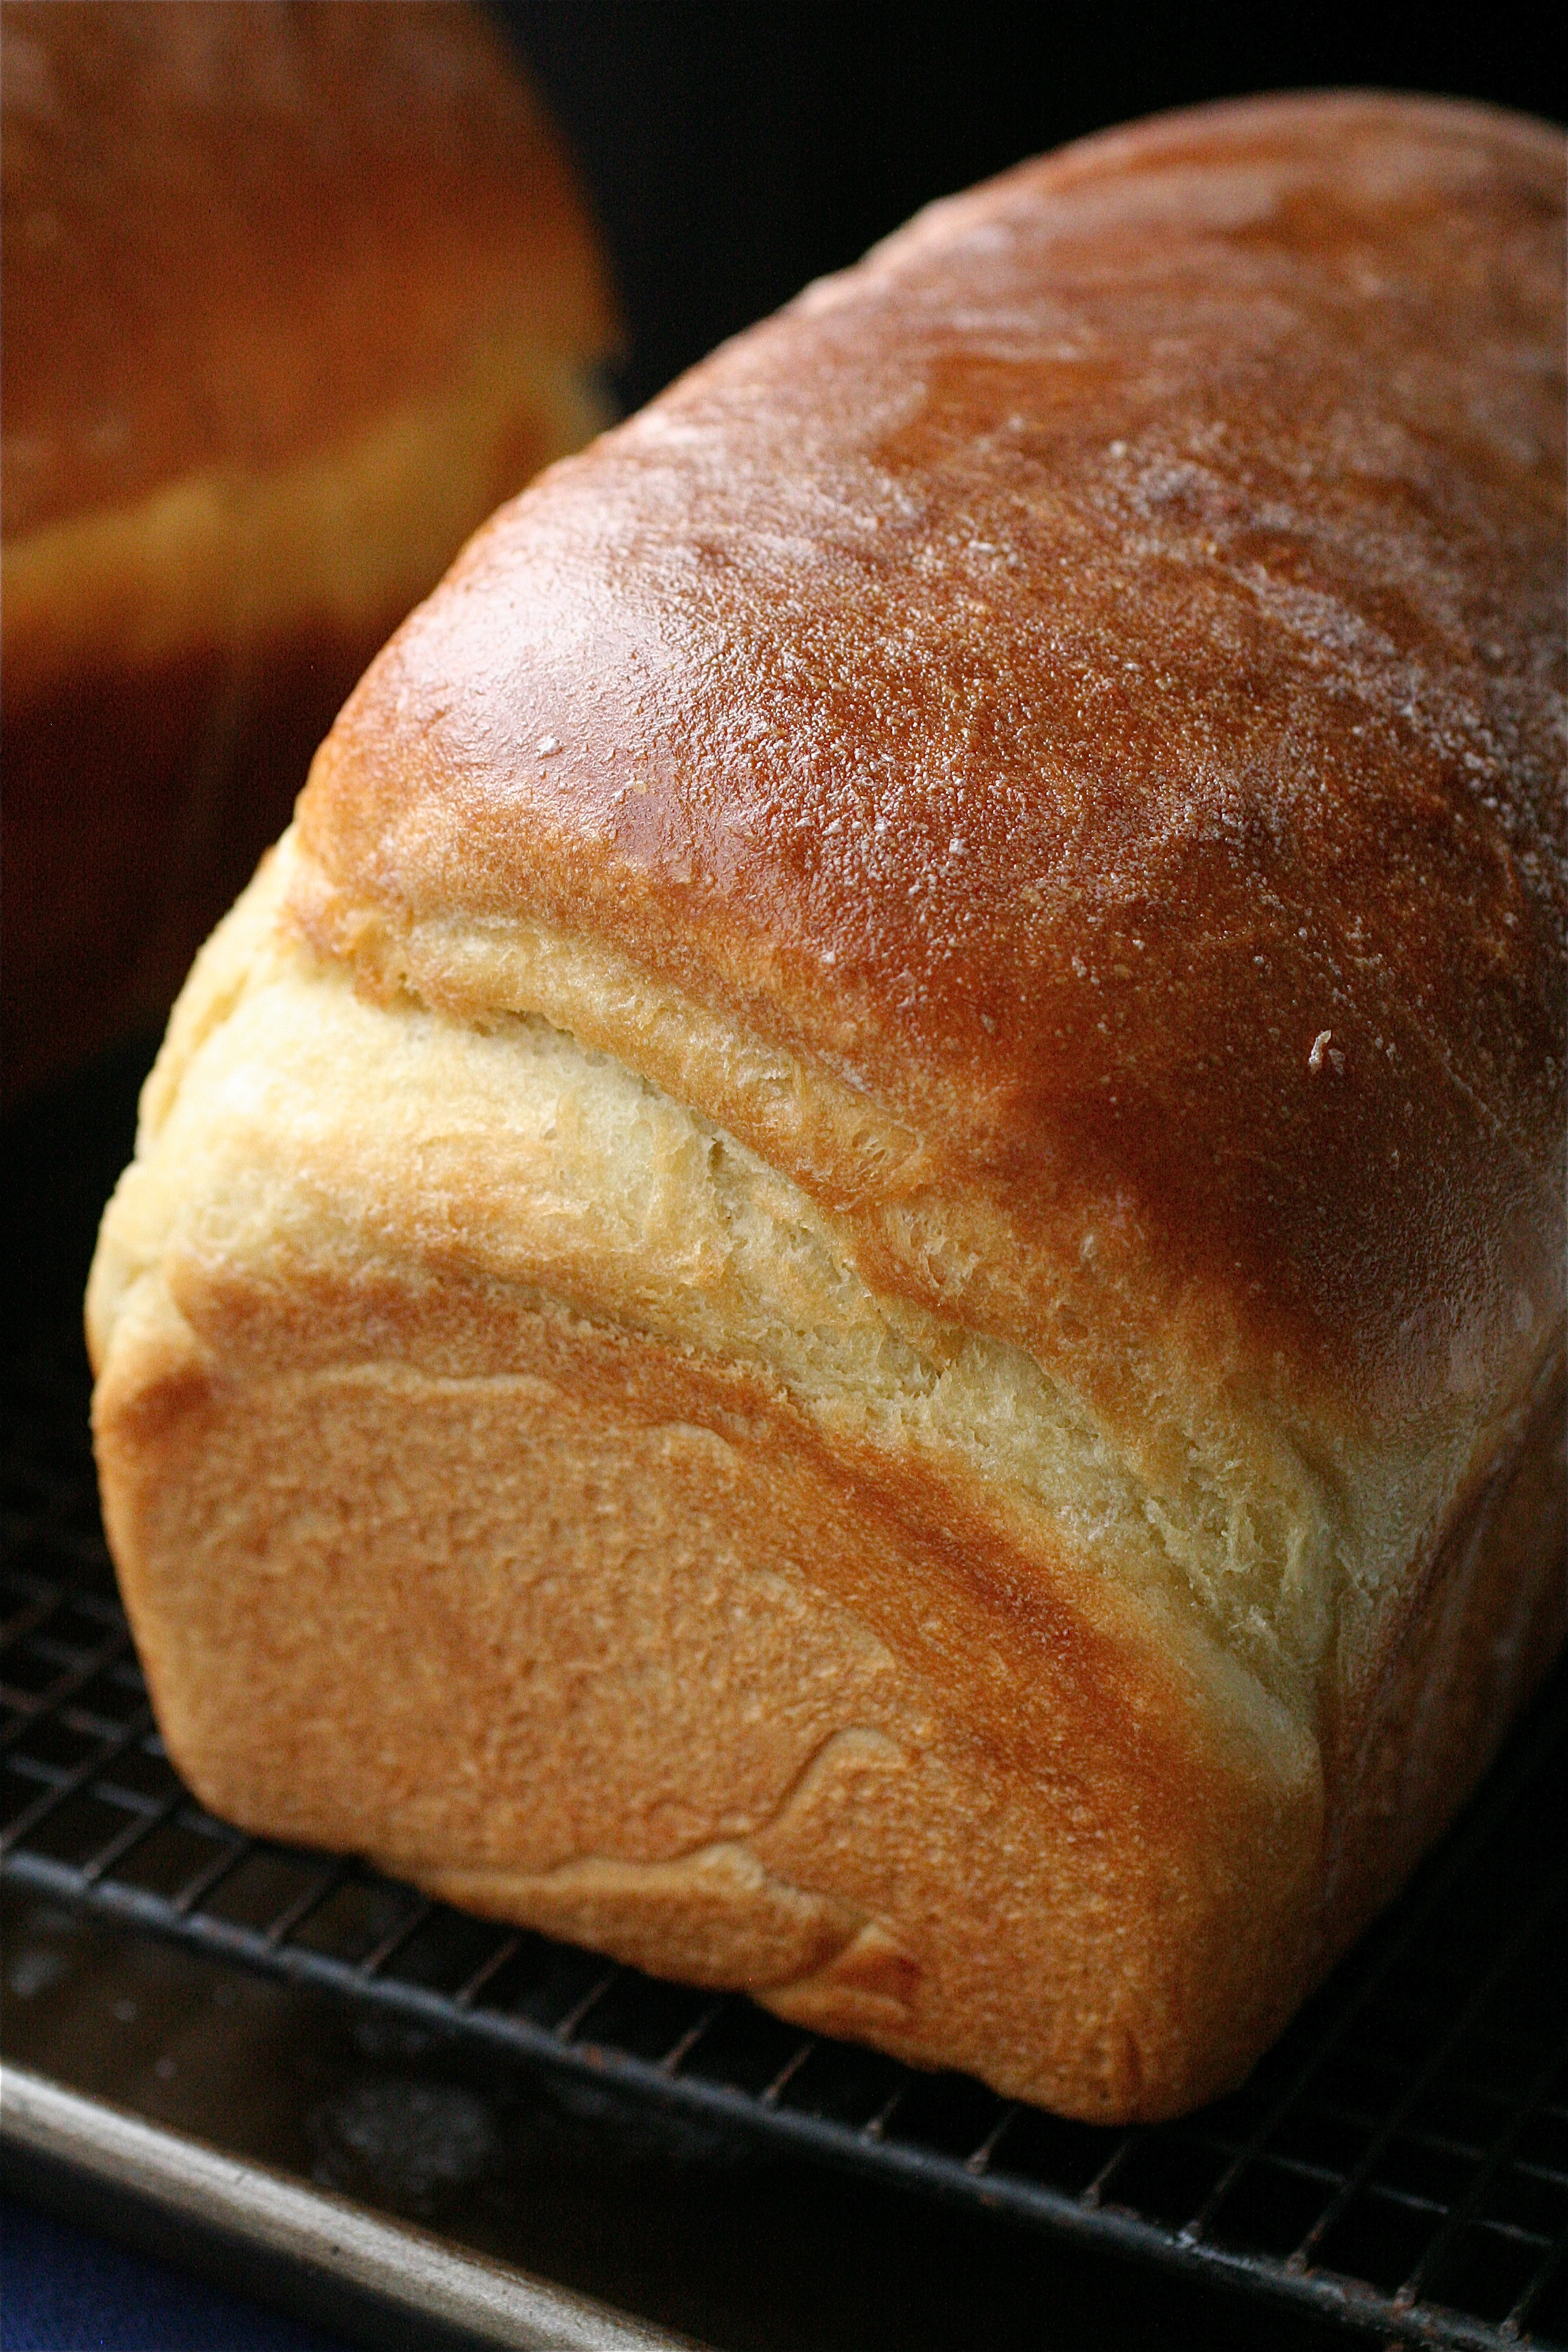
Homemade Sandwich Bread
I found this recipe here. The author of the curvycarrot calls the bread "Rosebud's Butter Topped White Bread", but I'm not sure who Rosebud is.
(I only have one bread pan, so I halved this recipe and made one loaf. It turned out fine!)
Ingredients
4 and 1/2 teaspoons dry active yeast (or the equivalent of two packets)
3/4 cup warm water1/4 cup granulated sugar
1 tablespoon salt
3 tablespoons unsalted butter, room temperature and cut into pieces (All I had was salted)
2 and 2/3 cup additional warm water
9-10 cups all-purpose flour
4 tablespoons (1/2 stick) unsalted butter, melted, for brushing the tops of the loaves
Additional butter/cooking spray, for greasing your rising bowl and loaf pans
Instructions
1. In a mixing bowl, dissolve the yeast in 3/4 cup of warm water, about 5 minutes.
2. Add the sugar, salt, butter, additional 2 and 2/3 cup warm water, and mix gently to combine with the paddle fixture thing.
3. Slowly add 5 cups of the flour, mixing on low speed until smooth.
4. With the mixer on its lowest speed, slowly add the remaining flour until the dough is smooth. (I was halving it, but I used a total of 4 5/8 c.)
5. Switch to your dough hook attachment and knead the dough for 10 minutes. (My dough was more spinning than kneading, so occasionally I would stop it, strip all the dough off the hook and set it off again so it wouldn't just knead the stuff at the bottom).
6. While the dough is kneading, lightly grease a large bowl with butter or cooking spray, as well as two loaf pans. (Mine was a 9" pan)
7. Once the dough is ready, place the dough in the greased bowl and turn over to completely coat the dough with butter/cooking spray. Cover, and set in a warm place to rise for 1 hour. (I turn my oven on to the lowest setting, then set the bowl on the opened door so it's warm, but not cooking it).
8. After an hour, punch down the dough and divide it into two portions. (Since I only made one loaf, I didn't split mine).
9. Working with one portion at a time, roll (with a rolling pin) the dough out into roughly 12″ x 12″ rectangles, making sure that the thickness of the dough is uniform throughout. Since my pan is only 9" long, I rolled it more into a long skinny rectangle with the width being the same as my pan. That way when I rolled it up, it just plopped right in there, no tucking or folding!)
10. Slowly and tightly roll up each rectangle, sealing the edges firmly.
11. Tuck the ends of the roll tightly under the bread and place into your prepared loaf pans. Repeat with the second loaf. Cover the loaves, set in a warm place, and let rise until doubled, about another hour. (Once again on the open oven door).
12. Place one rack on the lowest position in the oven and preheat the oven to 425 degrees.
13. Bake the loaves for 15 minutes, then cover each loaf with aluminum foil to prevent the tops from browning too much.
14. Once covered with foil, bake for an additional 15 minutes.
15. Remove the loaves from the oven, place on a wire rack to cool, and lightly brush the loaves with the melted butter.
Done and done! DELICIOUS. I seriously could not wait more than 30 secs once it was out of the oven and buttered before I bust into it. 5.0 stars, all the way!

No comments:
Post a Comment