Showing posts with label four stars. Show all posts

Sunday, March 17, 2013

Korean Beef (aka Korean Turkey)

I found this recipe that promised to be simple.  Sometimes I need simple in my life.  And sometimes I need different.  This seemed like something different than what I normally make, so I put it on the menu.  And it is a Six Sisters recipe, and they tend to have things that I like.  So it was one of those things that would be on the menu for that night, but I would push it off. Not sure why.  The night I made it, I told Callen I wasn't in the mood for it and was going to make spaghetti, but I decided to just suck it up and do it.  And we were both glad I did.  It reminded me a bit of the Mongolian Beef I make, except it used ground beef (and I used ground turkey).  Plus, it wasn't fried.  So a win-win in terms of health.  And we both agreed that it was something worth making again!
I found the original recipe here.


Korean Beef

Ingredients:
1 lb lean ground beef (or ground turkey)
1/2 cup brown sugar
1/4 cup soy sauce
1 Tablespoon sesame oil
3 cloves garlic, minced (I used 2 medium sized ones)
1/4 teaspoon ground ginger
1/2 - 1 teaspoon crushed red peppers (depending on how spicy you like it)
salt and pepper
1 bunch green onions, diced (I omitted)
Rice, cooked (I used brown rice)

Directions:
Heat a large skillet over medium heat and brown hamburger with garlic in the sesame oil. Drain most of the fat and add brown sugar, soy sauce, ginger, salt and pepper and red peppers. Simmer for a few minutes to blend the flavors. Serve over steamed rice and top with green onions. 

Easy enough!  And delicious.  4.8 stars.

Wednesday, February 13, 2013

Dorito Chicken Casserole

I am on a no-sweets eating plan right now except holidays.  (SO EXCITED TOMORROW IS A HOLIDAY!  I have my sweets all planned out...) So lately I have been craving chips.  I probably shouldn't be eating those either, but what do you want from me.  I'm not perfect.

So this little gem of a recipe was perfect the other night.  I found it at Jam Hands.

Mexican Dorito Casserole 
Serves 4-6


  • 2 c. shredded cooked chicken
  • 1 c. shredded cheese
  • 1 can cream of chicken soup (I used homemade soup)
  • 1/2 cup milk
  • 1/2 cup sour cream
  • 1 can Ro-tel tomatoes (I have a bunch of fresh tomatoes from my basket, so I just chopped one up and omitted the jalapenos)
  • 1/2 packet taco seasoning (or more- to taste)
  • Bag of doritos (and you should probably eat some doritos as you are cooking.  Maybe like 3 servings worth)


1. Pre-heat oven to 350-f degrees.

2. In a mixing bowl, combine all ingredients except doritos.

3. In a greased 2 qt baking dish, put a layer of crushed doritos (about 2 cups), then a layer of the chicken mixture. Repeat once more, ending with a layer of chicken mixture. Top with more shredded cheese, cover, and bake for 30-35 minutes, till bubbling hot.


And ENJOY!
Rating: 4.0 stars (I couldn't give it 5 stars since it's not the healthiest thing I've ever made... I mean, it has crunched up chips in it.)

Chicken Crepes and Buttermilk Syrup and Whole Grain Waffles

I LOVE breakfast.  I would eat breakfast for every meal of every day if I could.  Especially if I have some homemade buttermilk syrup to go with it.  In fact, here is the recipe for that.  This recipe comes from a colleague of mine from when I taught 4th grade, so I can thank Carla Randall for my hip size!

3/4 c. butter
3/4 c. buttermilk
1 tsp baking soda
2 T karo syrup
1 1/2 c. sugar
2 t. vanilla
(Can you already see how healthy this recipe is??!)

Mix the butter, karo syrup, buttermilk, and sugar together in a medium size sauce pan and boil for 5 mins while stirring.  Remove from heat.  Add the soda and vanilla, being careful because it will froth up a bit before settling down.

(On a side note, if you are trying to use up the rest of your buttermilk before it goes back in two days so you decide to quadruple this recipe, be warned that it will probably boil over your largest pot and make a HUGE sticky mess all over your stovetop, under the burners, down the front of your oven, and onto the floor.  I would suggest not making more than a double batch at one time.)

Rating: 5.0 stars.  Easily.  If I could give it more than that, I would.  It's that good.

Ok, so now you need something to go with the syrup.  How about whole grain waffles?  Also courtesy of Carla.

2 eggs
1/4 c. canola oil
1 t. vanilla
1/2 c. flax seed meal
1/4 c. flour
1 T sugar
1 3/4 c. milk
1/4 c. applesauce
1 c. whole wheat flour
1/4 c. wheat germ
4 t. baking powder
1/4 t. salt

In a large bowl, whisk together the eggs, milk, oil, applesauce, and vanilla.  Beat in all dry ingredients just until smooth.   Preheat waffle iron.  Cook until crisp and golden brown.  (These take a little longer to cook so they don't stick to the pan).

Rating: 5.0 stars

Or maybe make some crepes.
This recipe I found on pinterest.  Obviously.

1 c flour
1 T sugar
1/4 t salt
1 1/3 c milk
1 T vanilla
3 eggs
3 T melted butter


1. In a large bowl combine the flour sugar and salt.
2. In a large measuring cup combine the milk, vanilla, eggs and melted butter. Mix with a fork to break up the eggs.
3. While whisking rapidly, slowly pour the milk and egg mixture into the dry ingredients. Whisk until very well combined. I keep the whisk in the bowl and continue to mix the batter occasionally as I make the crepes.
4. Heat an 8" non-stick skillet to medium heat. I used a paper towel with butter to coat the pan. Pour ¼ cup of batter into pan and tilt pan so that batter covers pan in a thin layer. Cook until the edges start to lightly brown, about 30 seconds to 1 minute. Flip over and cook for a few more seconds until done. I sprinkle about a teaspoon of sugar over the crepe and roll them up in the pan and keep them covered with aluminum foil to keep them warm until they are ready to serve.
(I didn't do the sugar, since this last time I used them to make chicken crepes and I didn't want them to be sweet).

Rating: 5.0 stars

So maybe you want some crepes, but you don't them super sweet.  Or you want to sneak breakfast into dinner.  Try chicken crepes! (by the Mormon Maven Moms here).

Super easy.

3-4 breasts chicken
2 cans cream of mushroom soup (I made my own so it wouldn't have soy in it)
Crepes
1 c. Sour cream
Cheddar cheese

Cook the chicken and dice it into small pieces.  Mix it with one can of soup.  Put some down the center of a crepe, then roll it up.
Place it in a 9x13 dish and repeat until the dish is full.
Mix the other can of soup with the sour cream.  Pour over the top of the crepes, then sprinkle as much cheese as you want on the top.  
Cook at 375 for 20 mins.  Enjoy!
4.0 stars.  Since I made my own soup, it tends to be a little bland in flavor.  But still a recipe I would use again.


Cheesy Broccoli Chicken Tin Foil Dinners

I was a little nervous about this one, since it seems like something you would eat while camping.  But it turned out fine!  I don't really have a cool story about it, so just enjoy the recipe found at Best Life 4 Moms is Now.

Ingredients:
1 package Stuffing mix; chicken flavor 
1 1/4 cups Water
4 Boneless skinless chicken breast halves
4 cups Broccoli Florets
1 cups Shredded cheddar cheese
4 slices Cooked bacon; crumbled 
4 tbsp Ranch dressing divided
- Oven to 400

Directions:
Spray 4 large sheets of heavy-duty foil with oil.
Combine stuffing mix and water.
Spoon 1/4 of the stuffing mixture onto the center of each foil sheet.

Top stuffing with a 6oz. chicken breast half.
Top chicken with 1 c. broccoli.
Sprinkle with 1/4 of the cheese and 1 slice of bacon, crumbled.
Drizzle with 1 T. ranch dressing
Bring up foil sides and fold to seal, leaving room for heat circulation inside
Place packets on a cookie sheet and bake 35-40 mins (depends on the size of your chicken breasts)
Remove packets and let stand 5 mins
Cut sits in foil for steam before opening.


It's been a while since I made these, but from what I can remember, 4.5 stars?

Philly Cheesesteak Stuffed Bell Peppers

Once again, getting creative with my vegetables.  Tonight's dinner involved bell peppers.  And I was a little anxious since I normally do not enjoy sliced deli meat.  This one turned out excellently, and only had like 100 calories per pepper!  That's a keeper.

This recipe comes from Quick n' Easy Recipes.  (Which currently has an ad of an EXTREMELY unattractive man on it.  haha).  And quick n' easy it was!  And the site has some awesome photos of the food (I swear I will take some pictures soon, at least of the finished project.  I really love seeing the pictures because it helps me to see if I am doing it right or not.  Since more often than not, I am doing it wrong).

So here's the deal.

INGREDIENTS
8 oz. Thinly Sliced Roast Beef
8 Slices Provolone Cheese
2 Large Green Bell Peppers
1 Medium Sweet Onion (obviously, I would never use)
6 oz. Baby Bella Mushrooms
2 Tbs. Butter
2 Tbs. Olive Oil
1 Tbs. Garlic – Minced
Salt and Pepper – to taste
DIRECTIONS

Slice mushrooms.  
Saute over medium heat with butter, olive oil, minced garlic and a little salt and pepper.  Saute until onions and mushroom are nice and caramelized.  About 25-30 minutes.  (I didn't do nearly this long, maybe 15-20 mins and they looked like they were getting burned.)
Slice peppers in half lengthwise, remove ribs and seeds.
Preheat oven to 400*
Slice roast beef into thin strips and add to the onion/mushroom mixture.  Allow to cook 5-10 minutes
Line the inside of each pepper with a slice of provolone cheese. 
Fill each pepper with meat mixture until they are nearly overflowing.
Top each pepper with another slice of provolone cheese.
Bake for 15-20 minutes until the cheese on top is golden brown. 
Done and done.  4.5 stars.  Sometimes I think I like the taste of roasted peppers better.  Maybe next time I'll fire roast them first.


Monday, January 21, 2013

Whole Wheat Bread

What makes bread whole wheat? I figured that would mean it only has whole wheat in it.  I have yet to find a recipe that ONLY uses whole wheat.  Oh well, this was delicious.  (I know what you're thinking, another bread?)  Definitely will be making it again, though I will probably let it rise a little more next time, I feel like it could have been a little less dense.

Honey Whole Wheat Bread

In a medium size bowl combine:
1 cup warm water (110-115 degrees F) 
1 TBL milk
2 TBL Olive Oil (or coconut oil or any oil, I like the Olive Oil and it's heart healthy)
2 TBL Honey
2 TBL Brown Sugar 
1 tsp Salt

In a large bowl, combine:
1 1/2 c. All Purpose unbleached flour
1 1/2 c. Whole Wheat Flour - + extra for kneading
1/3 c. Wheat Germ
3 TBL Flaxseed
2 tsp (1 packet) of Instant Active Dry Yeast

Create a well in the center and add your liquid ingredients.

Knead until the dough is smooth and elastic (about 10-15 minutes).  You may need to add extra flour to the dough if it's too sticky but be careful to just add a little bit at a time.  Place the dough in a greased bowl, turning once to grease both sides and cover with a clean towel.

Let the dough rise until doubled in a warm, draft-free spot (about 45 minutes). I did at least an hour.  

Punch down the dough after it's doubled and knead until smooth.  Form into a loaf.  Place the loaf in a greased loaf pan and cover again.  Let the dough rise in the pan in a warm, draft free place again until almost doubled in size (about 30 minutes).  Once again, I did over and hour and I would probably let it go a little more next time.  Preheat your oven to 350 degrees. 

Bake at 350 degrees for 30-35 minutes.  If the loaf starts browning too soon, you may lightly lay a piece of aluminum foil over the top.  

Remove the bread from the oven and let it rest in the pan for a few minutes.  After that, remove it to a wire rack and cover with a cloth.  It's best to store your bread in a cloth bag. 

For Freezing-
Make your dough, allow it to rise the first time, punch the dough down and knead it until elastic as above but instead of placing it in a loaf pan to rise a second time, add it to a freezer bag.  Try to get all of the air out of the bag, label it and place it in your freezer.  When you're ready to use the bread, take it out of your freezer the night before, place it in your refrigerator to thaw and rise the second time and then bake it as above.  It's that easy!  


Rating:  4.5 stars  Like I said, it was a little dense (I know, that's how wheat bread is, but I feel like it could be much better with just a little more rising).

Wednesday, January 16, 2013

Cheesy Chicken and Wild Rice Casserole

The picture in the pin where I found this recipe looked much more appetizing then mine.  For whatever reason, my pictures never look that cool.  Maybe it's the fact that I don't have a nice camera, that I don't have fancy dishes or garnish my food, perhaps it is because I do not possess the skill of being a photographer.  But the purpose of this blog is for me to catalog my favorite recipes so I can search for them quickly instead of scrolling through my pinterest board for 10 minutes because I keep skipping it.  And this way I can also keep track of changes I made or disasters I had.

So without further ado, here it is!  (And as a head note, 4.9 stars, I went back for seconds even!  And I NEVER go back for seconds.  I am on a very strict 1250 calories a day diet.  Seconds do not make their way into a diet like that.)

Cheesy Chicken and Wild Rice Casserole (say that 5 times fast)


3 Tablespoons extra virgin olive oil
1 medium onion, finely diced (omitted)
3 stalks celery, finely diced (omitted)
3 carrots, peeled and diced
2 Tablespoons fresh minced garlic 
2 Cups shredded, cooked chicken breast
2 Cups steamed white rice (I used brown rice)
16 oz prepared wild rice (I used a box of Uncle Ben's and it says 6 oz on the box.  Not sure if that means it is 6 oz BEFORE it's cooked?  Cuz when it's done there is more like 2 cups, which would be 16 oz).
1 teaspoon kosher salt
1/2 teaspoon black pepper
1/4 teaspoon garlic salt
______
Cheese Sauce (I halved this)
4 Tablespoons butter
1/4 Cup all purpose flour
1/4 teaspoon kosher salt
1/4 teaspoon black pepper
2 Cups chicken broth
2 Cups shredded cheddar cheese
Top with 1 1/2 Cups shredded cheddar cheese
0.  There should really be a prestep.  It took me awhile to figure out what was going on when I started this.  So, for those of us who are a little slow...  Boil and shred chicken.  Make white/brown rice.  Prepare wild rice according to instructions on the box.
1.  Preheat oven to 350 degrees F.  Heat oil into a medium dutch oven or pot over medium heat.  Saute onion, celery and carrots until softened, about 10 minutes.  Stir in garlic and cook for 1 minute.  Stir in chicken, both rices, salt, pepper and garlic salt.  Reduce heat to low.
2.  To prepare cheese sauce melt butter into a medium saucepan over medium high heat.  Whisk in flour, salt and pepper then slowly pour in chicken broth whisking continuously.  Whisk until thick and nearly boiling then stir in cheese until melted.  Pour cheese sauce into rice mixture then transfer to a 9×13 inch baking dish. Top with additional cheddar cheese and bake for 25-30 minutes or until cheese is melted through.  Serve.
8-10 servings
Absolutely delicious!

Monday, January 14, 2013

Chicken Asparagus Penne

This recipe has a very light flavor.  I tend to shy away from white sauces since they are so high in calories.  So this one looked awesome!  And we are definitely an asparagus loving family.  (Sorry no pictures, I am TERRIBLE at remembering to pull out my camera while I cook...  Click on the link, the original author has several awesome pictures).


Chicken & Asparagus Penne

Ingredients
  • 1 lb Asparagus- Steamed
  • 12 oz Whole wheat Penne-cooked
  • 1/4 Cup Olive Oil 

  • 1 lb Chicken Breast- Cubed and Cooked 

  • 1/2 Cup Shredded Parmesan
I prepared all my ingredients, then assembled.
I put the asparagus across the bottom of a 9x13 dish, then covered it with the Penne.  I drizzled the oil over it all, then kinda mixed it all together.  Sprinkle on the chicken, sprinkle on the cheese, then broil for 5 mins, until your cheese is golden.  (I probably would have mixed the oil over the chicken as well, a few of the pieces dried out in the oven).

Rating:  4 stars
Callen loves sauce, he would've preferred a heavier meal, but it was perfect for me and B!

Homemade Bread and Tortillas

Ok, not a fancy name, but holy cow did I feel fancy making it!  Since B is allergic to say, eggs, and nuts, I am having to totally alter our menu to fit her needs.  I hate taking out pretty much everything she loves, though she is totally a good sport about it.  (At least for now).  We used to do a lot of quesadillas and grilled cheese sandwiches, but that became a non-option once she was diagnosed since both have soy in them.  UNLESS you make your own.  And since I am a homemaker now, I guess I have the time to do that.  :)  So I make my own tortillas and bread for her now.  I've done the tortillas 4 or 5 times now and though you can tell a little bit of a difference between these and store bought, she loves them and they're easy!

Flour Tortillas
I found the recipe here.
Basically,
cups flour 
1 tsp. salt 
1/3 cup vegetable oil 
1 cup warm water 
Mix them all together, then pinch into small balls.  Roll the balls out as circular as possible, then through them in a frying pan sprayed with pam.  Cook until it starts to brown, then flip it over and brown the other side.  And done!

I have halved the recipe to make only 3 tortillas, which was perfect for one meal of chicken quesadillas with the hubs.  Awesome!

Rating:  4.9 stars (not QUITE as good as store bought, but considering I made them myself, I'm pretty proud of myself.


Now the bread.
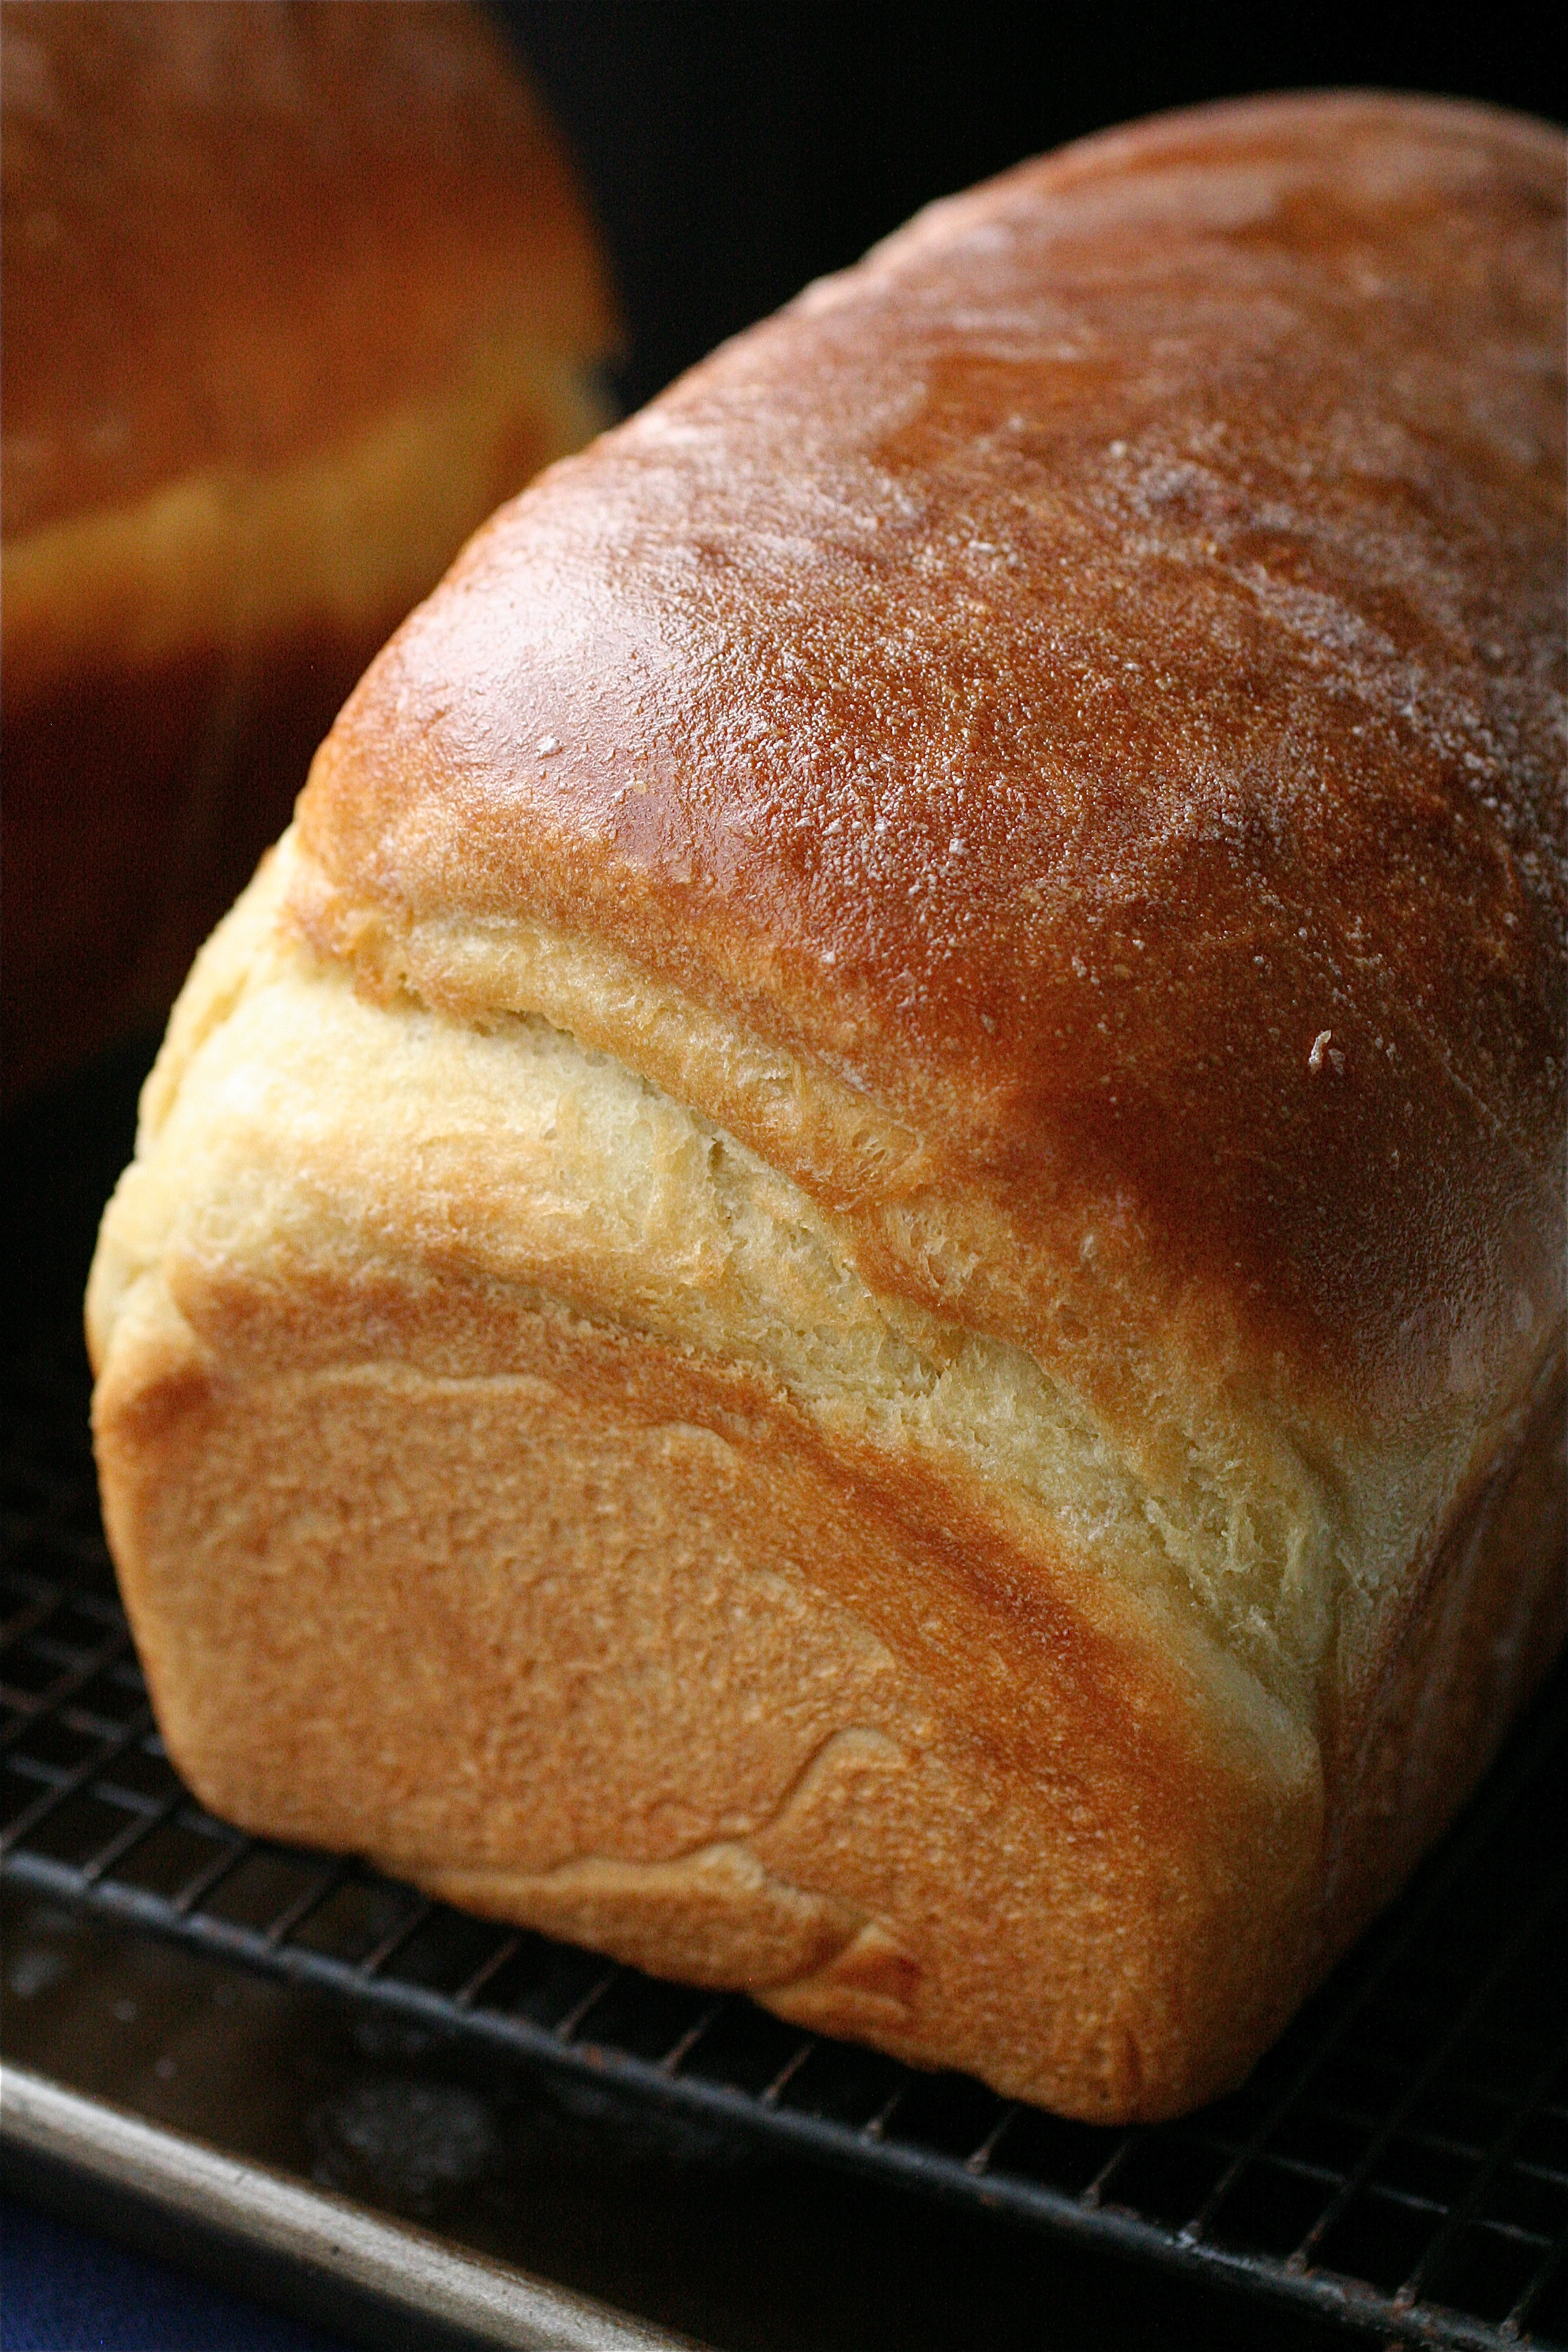
As I have mentioned before, I am not good at making bread.  Well, I decided last night that that was no longer true.  So I changed it to, I am not good at making rolls.  And I'm too afraid to try again.  But I am kicking butt when it comes to bread.  I found a recipe that makes sandwich bread, which is perfect for our grilled cheese sandwiches.  So I made them yesterday.  Not too labor intensive and not too long, so it was great for a Sunday afternoon.

Homemade Sandwich Bread
I found this recipe here.  The author of the curvycarrot calls the bread "Rosebud's Butter Topped White Bread", but I'm not sure who Rosebud is.

(I only have one bread pan, so I halved this recipe and made one loaf.  It turned out fine!)


Ingredients
4 and 1/2 teaspoons dry active yeast (or the equivalent of two packets)
3/4 cup warm water
1/4 cup granulated sugar
1 tablespoon salt
3 tablespoons unsalted butter, room temperature and cut into pieces (All I had was salted)
2 and 2/3 cup additional warm water
9-10 cups all-purpose flour 
4 tablespoons (1/2 stick) unsalted butter, melted, for brushing the tops of the loaves
Additional butter/cooking spray, for greasing your rising bowl and loaf pans

Instructions
1. In a mixing bowl, dissolve the yeast in 3/4 cup of warm water, about 5 minutes.
2. Add the sugar, salt, butter, additional 2 and 2/3 cup warm water, and mix gently to combine with the paddle fixture thing.
3.  Slowly add 5 cups of the flour, mixing on low speed until smooth.
4. With the mixer on its lowest speed, slowly add the remaining flour until the dough is smooth. (I was halving it, but I used a total of 4  5/8 c.)
5. Switch to your dough hook attachment and knead the dough for 10 minutes.  (My dough was more spinning than kneading, so occasionally I would stop it, strip all the dough off the hook and set it off again so it wouldn't just knead the stuff at the bottom).
6.  While the dough is kneading, lightly grease a large bowl with butter or cooking spray, as well as two loaf pans.  (Mine was a 9" pan)
7.  Once the dough is ready, place the dough in the greased bowl and turn over to completely coat the dough with butter/cooking spray.  Cover, and set in a warm place to rise for 1 hour.  (I turn my oven on to the lowest setting, then set the bowl on the opened door so it's warm, but not cooking it).
8. After an hour, punch down the dough and divide it into two portions. (Since I only made one loaf, I didn't split mine).
9. Working with one portion at a time, roll (with a rolling pin) the dough out into roughly 12″ x 12″ rectangles, making sure that the thickness of the dough is uniform throughout.  Since my pan is only 9" long, I rolled it more into a long skinny rectangle with the width being the same as my pan.  That way when I rolled it up, it just plopped right in there, no tucking or folding!)
10.  Slowly and tightly roll up each rectangle, sealing the edges firmly.
11.  Tuck the ends of the roll tightly under the bread and place into your prepared loaf pans.  Repeat with the second loaf.  Cover the loaves, set in a warm place, and let rise until doubled, about another hour. (Once again on the open oven door).
12.  Place one rack on the lowest position in the oven and preheat the oven to 425 degrees.
13. Bake the loaves for 15 minutes, then cover each loaf with aluminum foil to prevent the tops from browning too much.
14.  Once covered with foil, bake for an additional 15 minutes.
15. Remove the loaves from the oven, place on a wire rack to cool, and lightly brush the loaves with the melted butter.
Done and done!  DELICIOUS.  I seriously could not wait more than 30 secs once it was out of the oven and buttered before I bust into it.  5.0 stars, all the way!