Showing posts with label five stars. Show all posts

Sunday, June 23, 2013

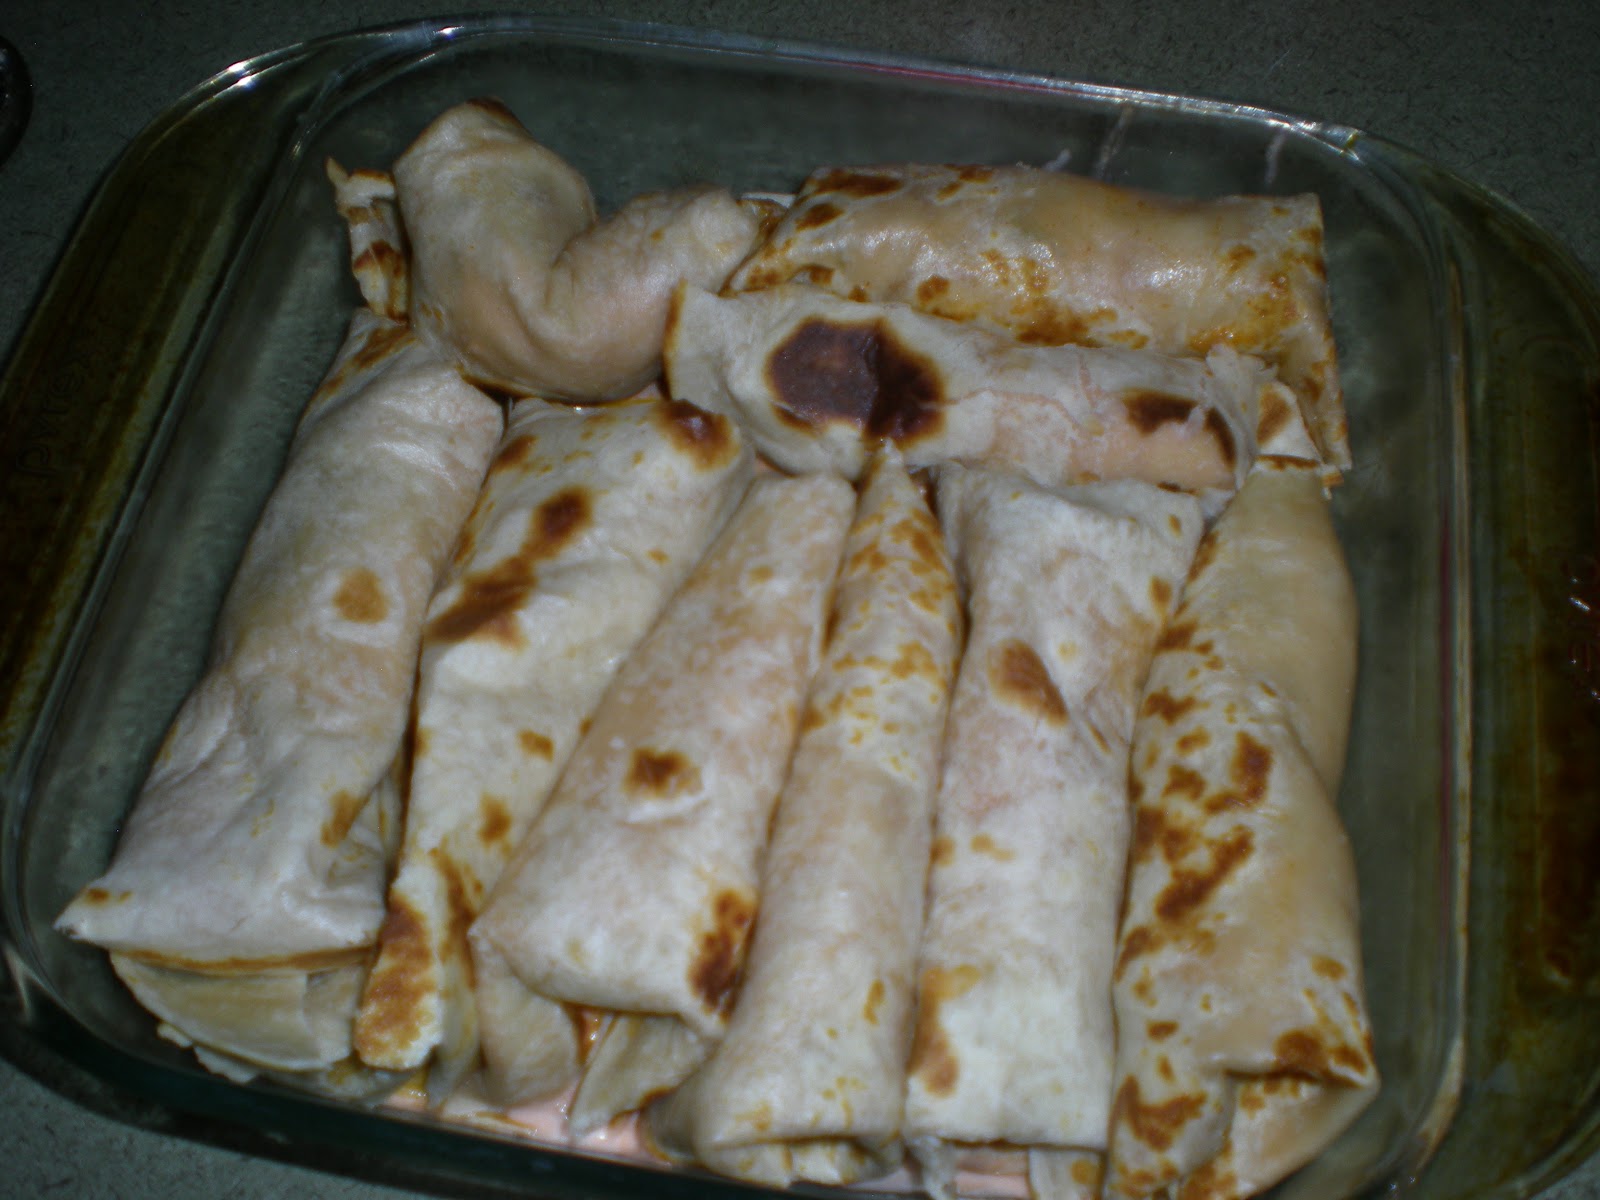
Chicken and Cream Cheese Taquitos

These. Are. Amazing.  Enough said.

Found originally here.


Ingredients
3 cups cooked shredded chicken
6 ounces cream cheese, softened
1/3 cup sour cream
1/2 cup salsa
1 + 1/2 cups shredded cheddar cheese
1 + 1/2 cups chopped baby spinach, stems removed
coarse salt (and fresh black pepper if you like), to taste
9 - 10 (6-inch) flour tortillas
vegetable or canola oil, for frying
topping as you like:
sour cream/quacamole/salsa/taco sauce/ranch dressing
Instructions
  1. In a large bowl mix together the chicken, cream cheese, sour cream, salsa, cheddar and spinach. Season to taste with salt and pepper.
  2. Working with one tortilla at a time add 2 heaping tablespoons of the chicken mixture off center and spread out like a log. Roll up and set seam side down in a 9x13 dish. Repeat until all the tortillas are filled and rolled.
  3. Bake at 350 for about 10 mins, flip over if desired. 
*The original recipe has you fry these, so feel free to go that route instead!

5 stars!

Friday, May 10, 2013

Broccoli and Cheese Quinoa

I finally broke down and bought some Quinoa.  I had a heck of a time finding it at the grocery store.  Even now I can't remember where I found it.  I kinda stumbled upon it while looking for something else and even though it was pretty expensive, I have decided that this recipe alone makes it TOTALLY worth the price.  Both Callen and I were blown away by this amazing dish and if it were up to me, I'd make it every week.  Seriously, make it right now.

Broccoli and Cheese Quinoa

1 cup quinoa
2 cups chicken broth
1 cup uncooked broccoli
1/2 cup cheddar cheese

Bring the quinoa and broccoli to boil in the chicken broth.  Cover, reduce heat and let simmer for 15-20 mins, until the liquid is absorbed.  Remove from heat, add the cheese and stir.

Enjoy!  Not only delicious, but TOTALLY easy to make.  So easy, even Jess can make it.  :)  Haha, since you're my only reader, I can say stuff like that.

Chicken and Cream Cheese Taquitos

So I got home late today after taking the kiddos to Baby Animal Days.  It's one of those nights when it's late and you already made spaghetti this week, so you don't have any other "quick" meals.  So we tried this one.  And we were extremely pleased with the outcome.  Brooklyn even ate it.  Without a fight.  That's how you know it's good. DEFINITELY a repeat.

Cream Cheese Chicken Taquitos (here)


1 1/2 cups cooked shredded cooked chicken
3 ounces cream cheese, softened
1/6 cup sour cream
1/4 cup salsa
3/4 cup shredded cheddar cheese
3/4 cup chopped baby spinach, stems removed
coarse salt and fresh black pepper, to taste
4-5 (6-inch) flour tortillas
vegetable or canola oil, for frying

Instructions
  1. Mix all ingredients (except tortillas) in a large bowl.
  2. Fill tortillas with mixture down the middle, roll up like a burrito.
  3. (Original recipe calls for frying these bad boys in a pan in oil.  I chose to bake them to keep them healthier.)  Cook at 350 for 12-15 mins.
  4. Serve with your choice of sauce.  (We just ate them straight up).


Easily 5 stars.

Friday, March 22, 2013

Peasant Bread

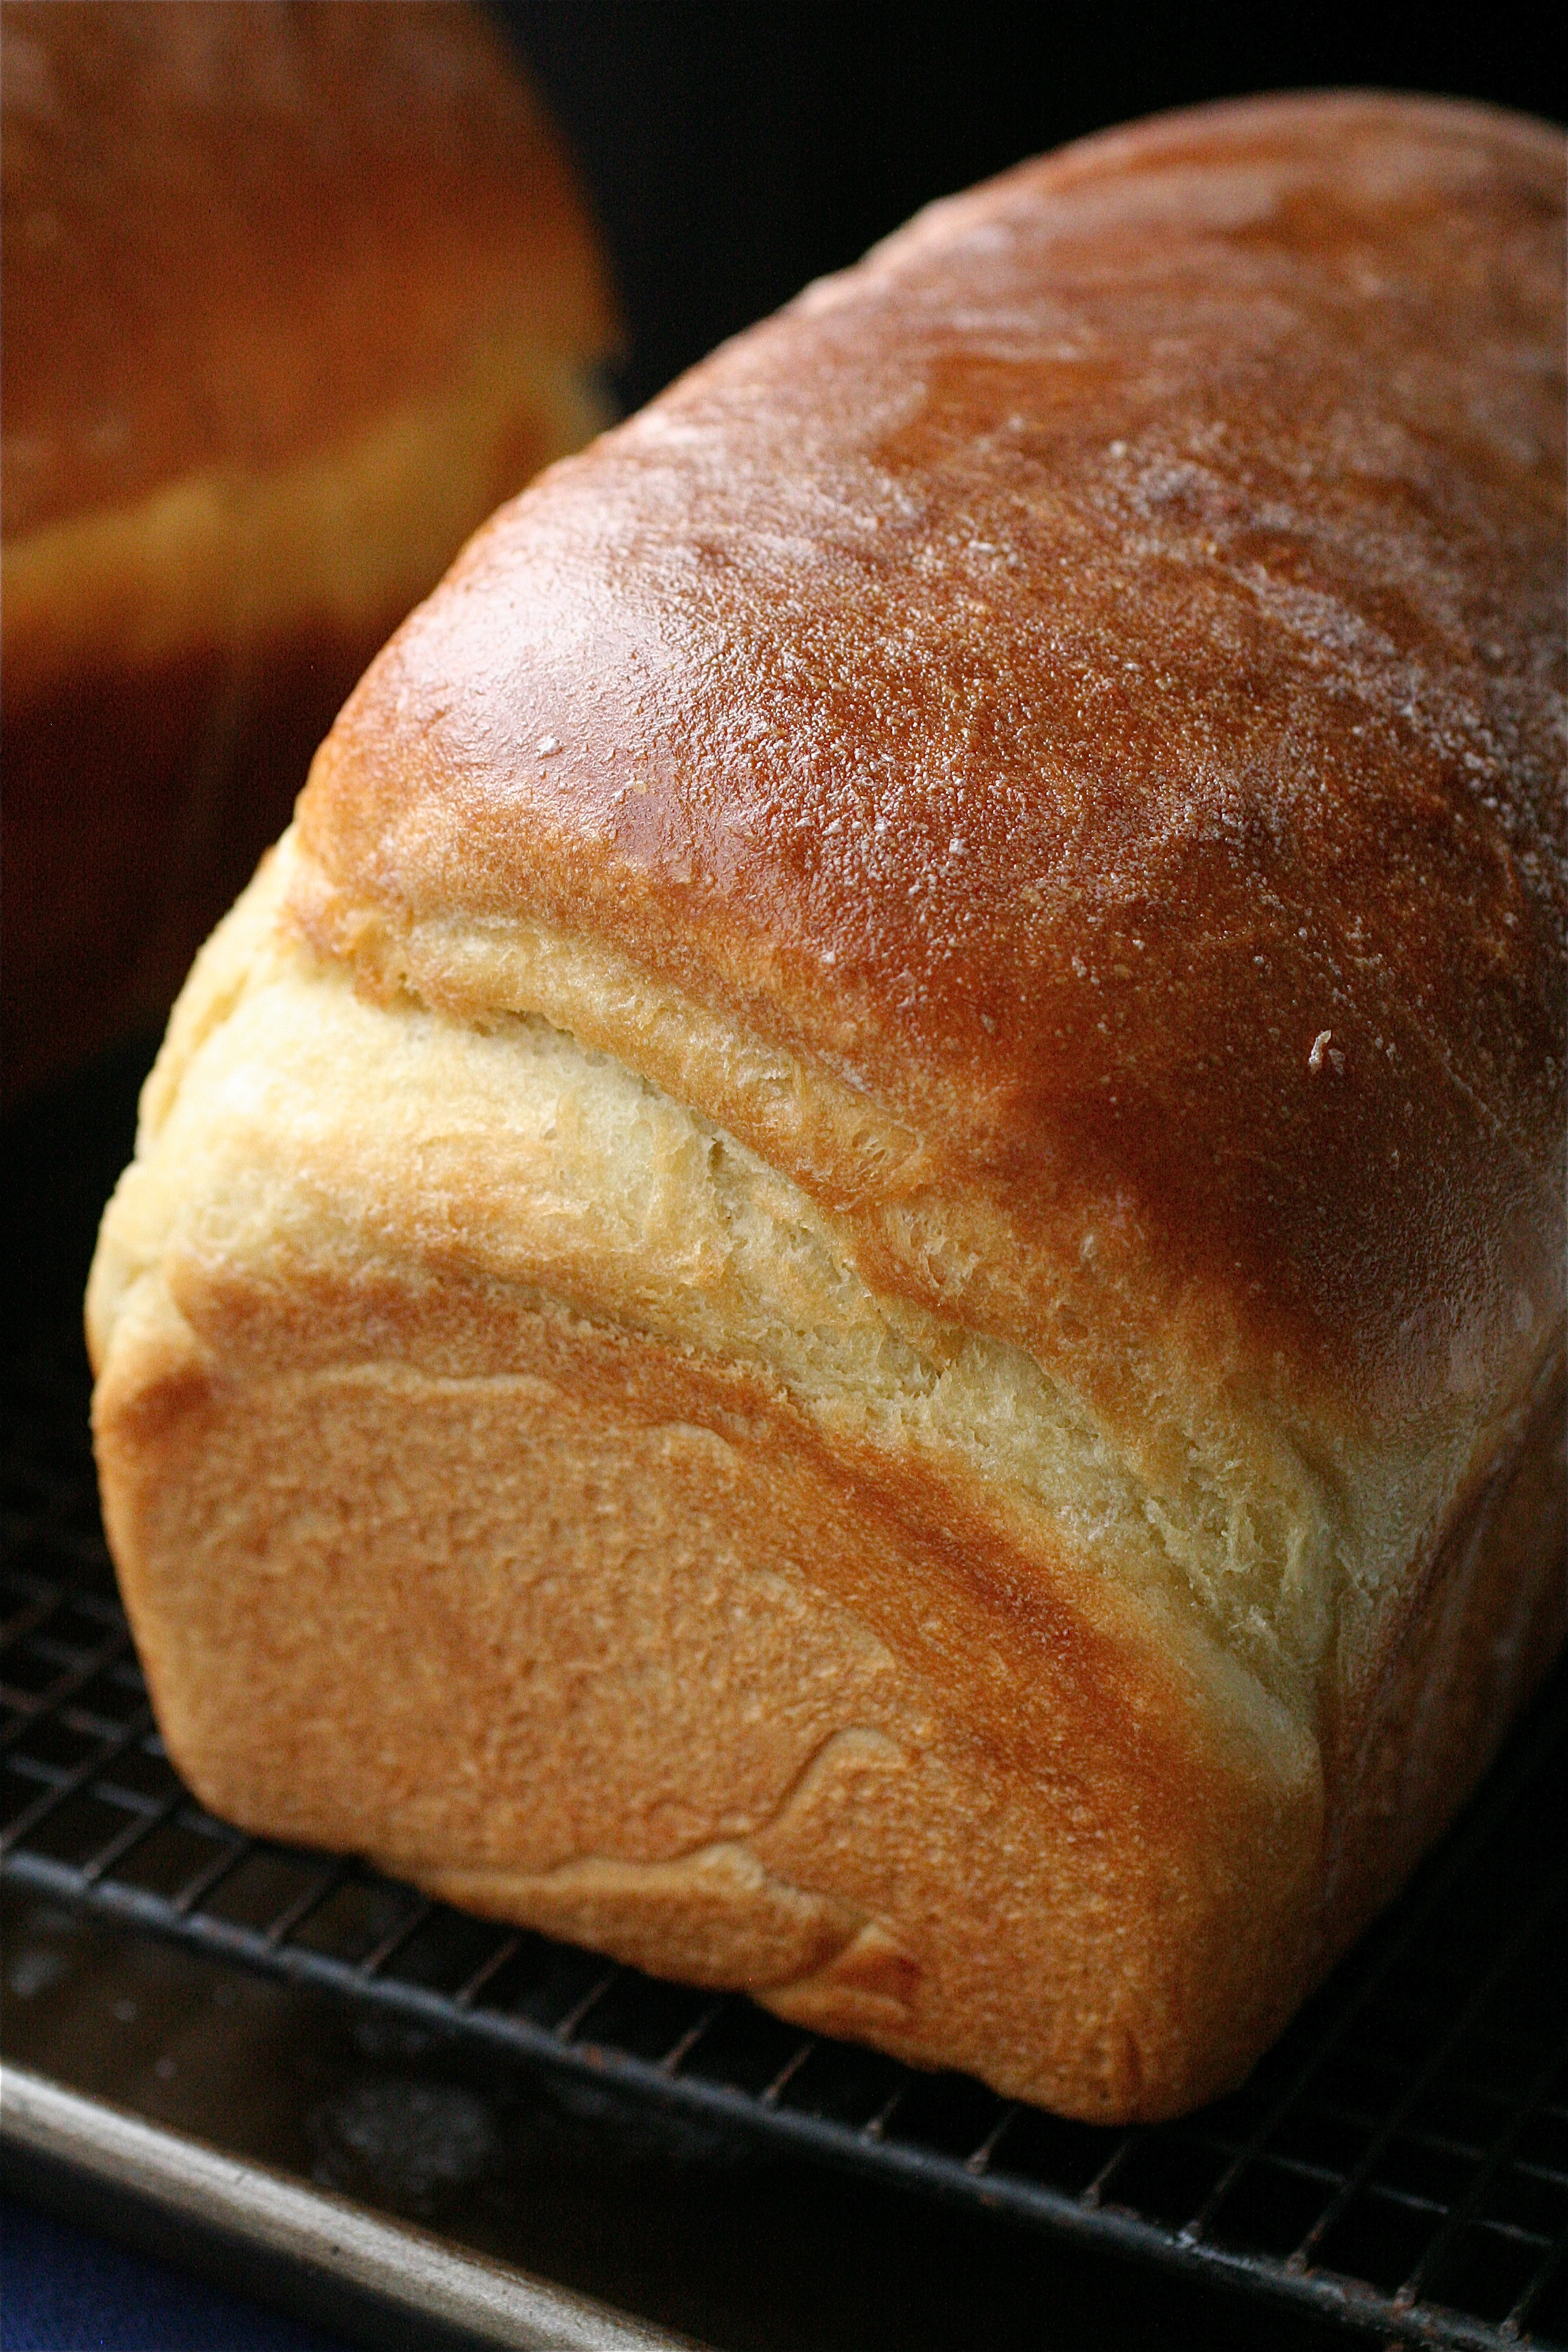
I've made this probably three times now.  It has a buttery deliciousness about it that makes it perfect.  I've made it when company came over and got several compliments.  And it cooks in a pyrex dish.  How cool is that?  And to top it all off, Brooklyn can have it!  So this is a must repeat.

Peasant Bread
Ingredients:

4 cups (1 lb. 2 oz) all-purpose flour* (do not use bleached all-purpose)
2 teaspoons kosher salt
2 cups lukewarm water
1 tablespoon sugar
2 teaspoons active-dry yeast
room temperature butter, about 2 tablespoons
Mix together the flour and salt in a large bowl.
In a smaller bowl, mix together the water and sugar, until the sugar is dissolved.  Sprinkle on the yeast and let sit for 10-15 minutes so it will get bubbly.  You don't need to stir it.
Stir the water/yeast, then pour into the flour mixture and mix with a wooden spoon or spatula.  The dough will be very wet.  Cover and let rise in a warm place for 1 1/2-2 hours.
Butter two round pyrex dishes (2L or smaller) liberally.  Carefully cut the risen dough in half with a fork and plop each half in a dish.  Let rise again for 30 more minutes.
Preheat the oven to 425.  After dough has risen, cook for 10 minutes, then turn the heat down to 375 and cook for 20-25 minutes longer.
The bread should be golden on top and should fall right out of the dish when turned.  Let cool at least 10 minutes before cutting.  Enjoy!
Rating:  5 stars!

Sunday, March 17, 2013

Dutch Oven Potatoes

I am STILL trying to use up all my potatoes from my bountiful baskets.  Fortunately they hold for awhile, because honestly, I have had a TON for over a month now.  And I even gave away half a bag to our neighbors.  I'm probably down to half a bag, so maybe in the next week or two I can use them up.

Tonight's use of potatoes was a HUGE success.  I was afraid that it wouldn't have a lot of flavor since I had to make the soup myself and I didn't use the onions, but it was AMAZING.  Both Callen and I said that several times.  This is DEFINITELY going to be made again.

I found the recipe here.  I'll put my modifications in red.

Dutch Oven Potatoes
1 pound bacon (really I don't think it matters how much you use, just to preference.  I used enough to fill the bottom of my dutch oven in a single layer.)
5-7 pounds potatoes (I used 9 small potatoes, cut into 1/4" rounds)
1 large can (28 oz) cream of mushroom soup (I made my own to have a soyfree recipe.  I melted 4 T butter in a saucepan, then mixed in 4 T flour.  When it was fully mixed I slowly stirred in 2 c. milk, then let it cook until it thickened, about 5 mins.  Then I added about 7-8 minced mushrooms).
2 cups milk (since I uses less bacon/potatoes then the recipe called for, I omitted this.  Plus my homemade cream of mushroom soup tends to be a bit thinner than canned soup, so I didn't want it to be too runny)
1-2 medium onions chopped finely (didn't use per hubby's standing request)
Salt and Pepper to taste
2-3 c. shredded cheddar

Preheat oven to 350 (you can also use coals to do this as the original author did).
Cook bacon in dutch oven (I probably kept it in the oven for about 15-20 mins)
Shred bacon into small pieces.  Add potatoes, soup, milk, onion and salt and pepper.
Mix together in dutch oven, put back in oven.
Let cook for 35-40 mins.
Take off lid, sprinkle on the cheese and more salt and pepper if needed, then cook again until cheese is melted (I did about 5 mins more).
Enjoy!  Definitely 5 stars

Wednesday, February 13, 2013

Italian Chicken Marinade

Callen got a grill.  He said it makes him more of a man.  Well, my dad got a new grill for Christmas, and so we got his old one.  There is nothing wrong with it.  Not sure why dad even needed a new one...  But one man's trash is another man's treasure, right!??

So he stood out in the snow under the overhand that happens to end right where he stands.  So even though it wasn't raining or snowing, he was getting constantly dripped on.  But it was totally worth it.

We used this chicken marinade from Mom on a Mission for the chicken.  It was simple and extremely flavorful.  She talked about using this as a freezer marinade, it is an interesting idea, you should probably check out her site for her details.  I just mixed all the ingredients and put the chicken in it for about 6 hours to marinate.


  • 6 Tablespoons canola oil
  • 2 Tablespoons lemon juice
  • 2 Tablespoons Italian seasoning
  • 2 tsp. garlic salt
  • 1/2 tsp. ground black pepper
  • 8-10 boneless , skinless chicken breasts ( I butterfly all the way through if they are extra-large)
I only used 2 pieces of chicken, so there was a TON of marinade, I definitely didn't need that much.  But it still tasted excellent!  5.0 stars, this is definitely a repeat.

Chicken Crepes and Buttermilk Syrup and Whole Grain Waffles

I LOVE breakfast.  I would eat breakfast for every meal of every day if I could.  Especially if I have some homemade buttermilk syrup to go with it.  In fact, here is the recipe for that.  This recipe comes from a colleague of mine from when I taught 4th grade, so I can thank Carla Randall for my hip size!

3/4 c. butter
3/4 c. buttermilk
1 tsp baking soda
2 T karo syrup
1 1/2 c. sugar
2 t. vanilla
(Can you already see how healthy this recipe is??!)

Mix the butter, karo syrup, buttermilk, and sugar together in a medium size sauce pan and boil for 5 mins while stirring.  Remove from heat.  Add the soda and vanilla, being careful because it will froth up a bit before settling down.

(On a side note, if you are trying to use up the rest of your buttermilk before it goes back in two days so you decide to quadruple this recipe, be warned that it will probably boil over your largest pot and make a HUGE sticky mess all over your stovetop, under the burners, down the front of your oven, and onto the floor.  I would suggest not making more than a double batch at one time.)

Rating: 5.0 stars.  Easily.  If I could give it more than that, I would.  It's that good.

Ok, so now you need something to go with the syrup.  How about whole grain waffles?  Also courtesy of Carla.

2 eggs
1/4 c. canola oil
1 t. vanilla
1/2 c. flax seed meal
1/4 c. flour
1 T sugar
1 3/4 c. milk
1/4 c. applesauce
1 c. whole wheat flour
1/4 c. wheat germ
4 t. baking powder
1/4 t. salt

In a large bowl, whisk together the eggs, milk, oil, applesauce, and vanilla.  Beat in all dry ingredients just until smooth.   Preheat waffle iron.  Cook until crisp and golden brown.  (These take a little longer to cook so they don't stick to the pan).

Rating: 5.0 stars

Or maybe make some crepes.
This recipe I found on pinterest.  Obviously.

1 c flour
1 T sugar
1/4 t salt
1 1/3 c milk
1 T vanilla
3 eggs
3 T melted butter


1. In a large bowl combine the flour sugar and salt.
2. In a large measuring cup combine the milk, vanilla, eggs and melted butter. Mix with a fork to break up the eggs.
3. While whisking rapidly, slowly pour the milk and egg mixture into the dry ingredients. Whisk until very well combined. I keep the whisk in the bowl and continue to mix the batter occasionally as I make the crepes.
4. Heat an 8" non-stick skillet to medium heat. I used a paper towel with butter to coat the pan. Pour ¼ cup of batter into pan and tilt pan so that batter covers pan in a thin layer. Cook until the edges start to lightly brown, about 30 seconds to 1 minute. Flip over and cook for a few more seconds until done. I sprinkle about a teaspoon of sugar over the crepe and roll them up in the pan and keep them covered with aluminum foil to keep them warm until they are ready to serve.
(I didn't do the sugar, since this last time I used them to make chicken crepes and I didn't want them to be sweet).

Rating: 5.0 stars

So maybe you want some crepes, but you don't them super sweet.  Or you want to sneak breakfast into dinner.  Try chicken crepes! (by the Mormon Maven Moms here).

Super easy.

3-4 breasts chicken
2 cans cream of mushroom soup (I made my own so it wouldn't have soy in it)
Crepes
1 c. Sour cream
Cheddar cheese

Cook the chicken and dice it into small pieces.  Mix it with one can of soup.  Put some down the center of a crepe, then roll it up.
Place it in a 9x13 dish and repeat until the dish is full.
Mix the other can of soup with the sour cream.  Pour over the top of the crepes, then sprinkle as much cheese as you want on the top.  
Cook at 375 for 20 mins.  Enjoy!
4.0 stars.  Since I made my own soup, it tends to be a little bland in flavor.  But still a recipe I would use again.


Monday, January 21, 2013

Chicken Pesto Calzones

Grandma Phyllis gave us a turkey for Christmas.  Like a 15 pound turkey.  We had some friends over the other night and cooked it, along with mashed potatoes, peasant bread, green beans/bacon, and they brought salad and dessert.  It was so fun, but we were STILL left with TONS of turkey.  So now I have to find recipes to use the turkey.  This recipe called for chicken, but I can use turkey instead, right?  Well, I did.  And even Callen said a couple of times how good they were.  And the other bonus, the dough was homemade so B could have it!  (Have I mentioned lately how obsessed I am with making bread.  I feel like I am winning every time I successfully make bread.  Winning what?  I'm not sure.  Just winning).

Turkey Pesto Calzones


Chicken Pesto Calzones
For the dough (adapted from The Pioneer Woman):

Mix together in a bowl:
  • 1 1/2 cups lukewarm water
  • 1 teaspoon dry active yeast
  • 1/2 teaspoon sugar
Add in and stir:
  • 1/3 cup extra virgin olive oil
  • 1 teaspoon salt
  • 1 1/2 cups unbleached bread flour
Using a bread hook, slowly add in the whole wheat flour until the dough is smooth and pulls away from the side of the bowl.
  • 2 1/2 cups white whole wheat flour
Put the dough in a lightly greased bowl and cover with seran wrap.  Let rise for 1 1/2-2 hours.

To finish the calzones:

Mix together in a bowl:
  • 1 cup pesto
  • 3 cups cooked shredded chicken (or shredded turkey)
After the dough has risen, split it into 4 balls (this makes HUGE calzones, I would probably do 8 balls next time and make smaller ones that a normal person could actually eat in one sitting).  Roll out on a lightly floured surface to make a rectangular or oval shape.  Spread 1/4 of the pesto chicken mix on 1/2 of the dough.  Layer on top:
  • 4 ounces Provolone Stravecchio cheese, shredded (or use mozzarella)
Fold the dough over the top.  Press the edges together to form a seam all the way around.  Brush the oil on and sprinkle on the seasoning.
  • Extra virgin olive oil (to drizzle on top)
  • Italian seasoning
Put in the oven (preheated to 425) for 10-12 minutes, until golden brown on the edges. 

**The original instructions said that I could freeze them.  So I made two and froze two.  Make sure and wrap them and put them in BEFORE cooking them.  So, I put on the oil and the seasoning, wrapped them in seran wrap and put them in the freezer.  So excited to have some pre-made dinners for later!

Rating:  5 stars, easy

Monday, January 14, 2013

Homemade Bread and Tortillas

Ok, not a fancy name, but holy cow did I feel fancy making it!  Since B is allergic to say, eggs, and nuts, I am having to totally alter our menu to fit her needs.  I hate taking out pretty much everything she loves, though she is totally a good sport about it.  (At least for now).  We used to do a lot of quesadillas and grilled cheese sandwiches, but that became a non-option once she was diagnosed since both have soy in them.  UNLESS you make your own.  And since I am a homemaker now, I guess I have the time to do that.  :)  So I make my own tortillas and bread for her now.  I've done the tortillas 4 or 5 times now and though you can tell a little bit of a difference between these and store bought, she loves them and they're easy!

Flour Tortillas
I found the recipe here.
Basically,
cups flour 
1 tsp. salt 
1/3 cup vegetable oil 
1 cup warm water 
Mix them all together, then pinch into small balls.  Roll the balls out as circular as possible, then through them in a frying pan sprayed with pam.  Cook until it starts to brown, then flip it over and brown the other side.  And done!

I have halved the recipe to make only 3 tortillas, which was perfect for one meal of chicken quesadillas with the hubs.  Awesome!

Rating:  4.9 stars (not QUITE as good as store bought, but considering I made them myself, I'm pretty proud of myself.


Now the bread.
As I have mentioned before, I am not good at making bread.  Well, I decided last night that that was no longer true.  So I changed it to, I am not good at making rolls.  And I'm too afraid to try again.  But I am kicking butt when it comes to bread.  I found a recipe that makes sandwich bread, which is perfect for our grilled cheese sandwiches.  So I made them yesterday.  Not too labor intensive and not too long, so it was great for a Sunday afternoon.

Homemade Sandwich Bread
I found this recipe here.  The author of the curvycarrot calls the bread "Rosebud's Butter Topped White Bread", but I'm not sure who Rosebud is.

(I only have one bread pan, so I halved this recipe and made one loaf.  It turned out fine!)


Ingredients
4 and 1/2 teaspoons dry active yeast (or the equivalent of two packets)
3/4 cup warm water
1/4 cup granulated sugar
1 tablespoon salt
3 tablespoons unsalted butter, room temperature and cut into pieces (All I had was salted)
2 and 2/3 cup additional warm water
9-10 cups all-purpose flour 
4 tablespoons (1/2 stick) unsalted butter, melted, for brushing the tops of the loaves
Additional butter/cooking spray, for greasing your rising bowl and loaf pans

Instructions
1. In a mixing bowl, dissolve the yeast in 3/4 cup of warm water, about 5 minutes.
2. Add the sugar, salt, butter, additional 2 and 2/3 cup warm water, and mix gently to combine with the paddle fixture thing.
3.  Slowly add 5 cups of the flour, mixing on low speed until smooth.
4. With the mixer on its lowest speed, slowly add the remaining flour until the dough is smooth. (I was halving it, but I used a total of 4  5/8 c.)
5. Switch to your dough hook attachment and knead the dough for 10 minutes.  (My dough was more spinning than kneading, so occasionally I would stop it, strip all the dough off the hook and set it off again so it wouldn't just knead the stuff at the bottom).
6.  While the dough is kneading, lightly grease a large bowl with butter or cooking spray, as well as two loaf pans.  (Mine was a 9" pan)
7.  Once the dough is ready, place the dough in the greased bowl and turn over to completely coat the dough with butter/cooking spray.  Cover, and set in a warm place to rise for 1 hour.  (I turn my oven on to the lowest setting, then set the bowl on the opened door so it's warm, but not cooking it).
8. After an hour, punch down the dough and divide it into two portions. (Since I only made one loaf, I didn't split mine).
9. Working with one portion at a time, roll (with a rolling pin) the dough out into roughly 12″ x 12″ rectangles, making sure that the thickness of the dough is uniform throughout.  Since my pan is only 9" long, I rolled it more into a long skinny rectangle with the width being the same as my pan.  That way when I rolled it up, it just plopped right in there, no tucking or folding!)
10.  Slowly and tightly roll up each rectangle, sealing the edges firmly.
11.  Tuck the ends of the roll tightly under the bread and place into your prepared loaf pans.  Repeat with the second loaf.  Cover the loaves, set in a warm place, and let rise until doubled, about another hour. (Once again on the open oven door).
12.  Place one rack on the lowest position in the oven and preheat the oven to 425 degrees.
13. Bake the loaves for 15 minutes, then cover each loaf with aluminum foil to prevent the tops from browning too much.
14.  Once covered with foil, bake for an additional 15 minutes.
15. Remove the loaves from the oven, place on a wire rack to cool, and lightly brush the loaves with the melted butter.
Done and done!  DELICIOUS.  I seriously could not wait more than 30 secs once it was out of the oven and buttered before I bust into it.  5.0 stars, all the way!

Friday, January 11, 2013

Ranch Chicken Enchiladas

Callen LOVES ranch.  I occasionally find him putting it on (what I think) are random things.  Maybe it's normal to smother things in ranch.  (My personal preference is to smother things in cheese.  Maybe that's why I have at least 10 blocks of cheese in my fridge).  So when I saw this recipe, I figured I HAD to try it for the hubs.

And I was NOT disappointed.  I think this is going to be my new go-to for chicken enchiladas for the next little while.  (I mean, there are probably thousands of chicken enchilada recipes, so I am confident that after having this in my rotation for awhile, we'll be ready to find a new favorite).

The recipe was found here.  I'll go ahead and paraphrase.

Ingredients:
3-4 chicken breasts
1 c. chicken broth
1/2 packet dry ranch seasoning
1/2 packet taco seasoning
1/2 c. ranch dressing
1/2 c. salsa
2 c. cheddar cheese
8-10 tortillas

I took 3 chicken breasts (small ones) and put them in the crockpot with 1 cup of chicken broth, half a packet of dry ranch mix and half packet of taco seasoning.  The original recipe called for chicken taco seasoning, but the commissary didn't have any specific to chicken, so I used the regular stuff.  I cooked it on low for 4 hours, then was easily able to shred the chicken.

Towards the end of the cooking, I mixed half a cup of ranch dressing and half a cup of salsa in a bowl. I shredded (way too much) cheddar cheese and I made my tortillas.  (I love to buy the kind that are in the refrigerator section where you get to cook them yourself.  LOVE them!)

Assembly was then easy.  I put a spoonful of the ranch/salsa mix down the center of my tortilla.  I put about 1/4 c. of chicken on top, then covered it with cheese.  Then roll those bad boys up!

I laid them in an 8x8 dish that had been sprayed with pam and covered with a thin layer of the salsa/ranch mix.  (I probably should have used a 9x13 dish since the last few enchiladas I was literally SHOVING into the dish.)  Once they were all in there (and yes, I did have to kind of fold and shove the last enchildada into a little corner space), I once again covered them in cheese and popped them in the oven (preheated to 350 degrees) for 30 mins.

Once they came out, I drizzled a little more ranch on the top and served them!


Rating:  DEFINITELY 5.0 stars.  Absolutely divine.

Sunday, December 16, 2012

White Chicken Chili

Just the mention of this name makes Callen start drooling.  His old roommate, Kyle Mann, made this for him.  Callen always talked about it, but I hesitated because I don't like chili.  So after much begging and pleading, I finally caved and asked Kyle for the recipe.  And so glad I did.  I mean, this is so good that when I take it to a church chili cook-off and there are probably 20 options of chili to choose from, Callen and I both still only eat the chili I brought. And it won once. It's that good. 5 stars.

White chili

1 or 2 tbs oil or butter
2 med. onion chopped
1 boullion cube
1 tbs garlic powder
1 tbs oregano
2 tbs cumin
1/2 tsp cayenne pepper
4 cans great northern beans
3 c. chicken broth
1 or 2 cans diced green chili
4 diced cooked chicken
1 or 2 cans white corn
2 c sour cream
4 c monterey jack cheese

1-cook onions in butter or oil
2-add spices
3-add other ingredients EXCEPT sour cream and cheese
4-simmer 1/2 hr
5-stir in sour cream and cheese
6-serve immediately

Olive Garden Lasagna Rollata Al Forno

Oh. My. Heaven.

Try this recipe.  It is seriously divine.  Partner this with my homemade artisan bread and dip, I was pretty proud of myself last night.  Yep, culinary genius.  And when I say genius, I mean, able-to-follow-the-recipes-so-they-all-turned-out-like-they-should.  I love it when that happens!


Recipe of the Day: Olive Garden Lasagna Rollata Al Forno
Olive Garden Lasagna Rollata Al Forno
Ingredients
Five Cheese Marinara Sauce
2 cups marinara sauce
2 cups alfredo sauce
1/2 cup ricotta cheese
1 cup italian blend shredded cheese
1/4 cup red wine
Filling
1 egg
15 ounces whole milk ricotta cheese
1 (8 ounce) mozzarella cheese, grated
1/2 cup parmesan cheese, grated
1/2 cup asiago cheese, grated
1/2 cup romano cheese, grated
1 tablespoon italian seasoning, blend
salt and pepper, to taste
I added a cooked, chopped up chicken breast to the filling.  We are definitely a meat eating kind of family.  If I were to make this full recipe, I would probably use 2-3 chicken breasts.
Noodles
1 lb lasagna noodle
1/2 cup Italian breadcrumbs
Directions:
Blend first two marinara ingredients together in a large saucepan. Add remaining ingredients and heat on medium, stirring frequently. The cheese will melt and the sauce will become creamy. Keep warm.
Set aside 1/4 of mozzarella cheese. Beat egg into a large mixing bowl and add all remaining ingredients, blending well. Keep refrigerated until you are ready to use.
Cook lasagna exactly according to package directions. Drain and rinse immediately with cold water so they are cool enough to handle.
When ready to make, spread about 1/4 cup of marinara sauce in a large 9×13 baking dish. Based upon the number of noodles in your 1 lb of noodles, divide the filling accordingly. Lay one lasagna noodle in baking dish and spread with filling along noodle. Loosely roll the noodle up, jelly-roll style. Decide if this looks about right to you. If so, keep rolling the rest of the noodles. Otherwise use more filling per noodle and discard the extra noodles.
Continue with each lasagna noodle until all noodles are rolled and arranged in baking dish. Cover each roll with remaining sauce, the remaining mozzarella cheese and top with Italian breadcrumbs.
Bake in preheated oven at 350 degree for about 35 minutes.

I made half the recipe and it filled 7 lasagna noodles nicely.  We each ate one noodle, so we have plenty leftover.  They were delicious!!!!  5 stars!

Artisan Bread

Bread is my nemesis.  For whatever reason, I am about 1 for 10 when it comes to bread.  So I usually buy ready made rolls or sometimes I really push my limits and buy frozen Texas Rhodes rolls.  (And one time, I even screwed those up).  My dough always turns out great, that's not the problem.  For whatever reason, I can't get the rising right.  So they end up not rising enough and taste like biscuits or they rise too much and flatten out and taste like biscuits.  It is extremely frustrating for me to fail at something over and over again.  Don't get me wrong, I fail at things.  But then I do them over and over and over until I'm awesome at them.  So for me to consistently fail at making bread, it's a tough shot to my ego.

Now I am killer good at making orange rolls for Christmas every year.  Maybe that's why I insist on making them.  Because I am so killer good at it.  And they are a tradition that I know my dad really appreciates.  And I have a soft spot in my heart for my dad.  And they're freaking delicious.

Anyway, back to the point.  I found a bread that I decided to try to make yesterday and it turned out PERFECTLY.  Seriously, Callen ate half the loaf.  And the loaf was at least a foot in diameter.  I am so proud of it.  I even remembered to take a picture of the end product, that's how proud I was of it.  And I may have posted it to Instagram.  :)

So here it is in all its glory.  Artisan Bread!  So reminiscent of Portugal.  And so incredibly delicious and not $7 at Crumb Brothers.


Basic No-Knead Breadslightly adapted from Jim Lahey’s My Bread
6 cups bread flour (recommended) or all-purpose flour, plus more for work surface
1/2 t. instant or active-dry yeast
2 1/2 t. salt
2 2/3 c. cool water
  1. In a large bowl, combine the flour, yeast, and salt. Add the water and stir until all the ingredients are well incorporated; the dough should be wet and sticky. Cover the bowl with plastic wrap. Let the dough rest 12-18 hours on the counter at room temperature. When surface of the risen dough has darkened slightly, smells yeasty, and is dotted with bubbles, it is ready.
  2. Lightly flour your hands and a work surface. Place dough on work surface and sprinkle with more flour. Fold the dough over on itself once or twice and, using floured fingers, tuck the dough underneath to form a rough ball.
  3. Generously dust a cotton towel (not terry cloth) (I used parchment paper, floured, on the towel) with enough flour, cornmeal, or wheat bran to prevent the dough from sticking to the towel as it rises; place dough seam side down on the towel and dust with more flour, cornmeal, or wheat bran. Cover with the edges or a second cotton towel and let rise for about 2 hours, until it has doubled in size.
  4. After about 1 1/2 hours, preheat oven to 425 degrees. Place a 6-8 quart heavy covered pot, such as a cast-iron Dutch oven, in the oven as it heats. When the dough has fully risen, carefully remove pot from oven. Remove top towel from dough and slide your hand under the bottom towel; flip the dough over into pot, seam side up. Shake pan once or twice if dough looks unevenly distributed; it will straighten out as it bakes.
  5. Cover and bake for 40 minutes. Uncover and continue baking for 10-15 more minutes, until the crust is a deep chestnut brown. The internal temperature of the bread should be around 200 degrees. You can check this with a meat thermometer, if desired.
  6. Remove the bread from the pot and let it cool completely on a wire rack before slicing. (The website NWFrugalLiving says you will hear it crackle.  You will!  Wait until the cracking stops, that's a good indicator that the bread is cool enough to cut into).
The site where I stole this recipe has an extended version of the recipe that has really good tips in it.  Things you don't think about until after you've screwed it up.  It also has really good pictures every step of the way to make sure you are doing it right.  (I appreciate pictures).

And seriously, 5 stars all the way.  Delicious bread, exactly like I expected and hoped!